Hi! My name is Rachel Rothstein, and living with a nut allergy has added significant challenges in my daily life, especially when it comes to reading food labels and ensuring safety. I have often found ingredient lists to be confusing or unclear, making it difficult to make choices. I created Behind the Label to empower others with food allergies by sharing my personal journey, providing reliable information, and offering allergy-friendly recipes to assist others facing similar challenges. Thanks for visiting my blog!
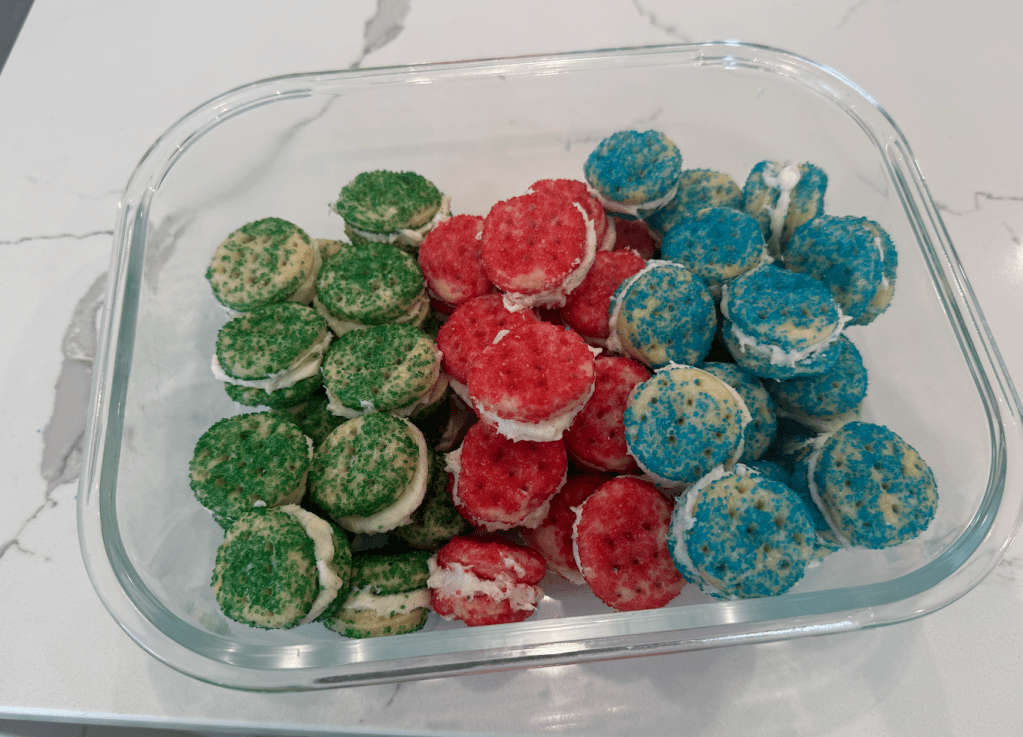
Most classic Holiday Christmas/Hanukkah cookie recipes call for almond extract, chopped pecans, or other nuts, but what about those with nut allergies? Don’t worry! You don’t have to miss out on holiday baking. With a few swaps, you can still enjoy the cozy comfort, smell, and sweetness the holiday cookies bring, completely nut-free!
Ingredients:
For the cookies:
1 cup softened butter
1/3 cup whipping cream
2 cups flour
For the frosting:
1/2 cup softened butter
1 1/2 cup powdered sugar
2 tsp vanilla extract
Instructions:
Mix together all of the ingredients for the cookies until it’s fully combined and chill in the fridge for at least two hours
Once chilled, take the dough out and roll it out on a surface lightly covered with flour until it’s about 1/4 inch thick
Cut out circles of dough using a small cookie cutter or bottle cap
Coat both sides of the circles in sugar (granulated sugar or colored sanding sprinkle sugar) and poke each cookie circle 3-4 times with a fork
Bake on a baking sheet for 7-9 minutes at 375 degrees F
Let cookies cool before frosting them
Mix all of the frosting ingredients together and spread it between two cookies, pushing the two cookies together forming a cookie sandwich
They can be eaten right away, but I like them better cold so I put them in the fridge for a couple of hours before serving.
Living with a nut allergy means constantly navigating a world built for people who don’t have to think twice about what they eat. Additionally, in reality, most of the challenges of allergies don’t come from the allergy itself. It instead comes from the misconceptions that surround it. So let’s clear up the biggest myths of food allergies and find out the truth behind what it’s actually like to live with a nut allergy.
Myth #1 – “Just pick the nuts out.”
Fact: If only it were that simple.
The truth is, a nut allergy isn’t about the visible nuts. It’s about the protein inside the nuts that can spread through an entire dish. Even microscopic traces left behind from a spoon, a cutting board, or 2 foods that touched can trigger a reaction. So, in reality, picking out the nuts does nothing to remove the allergen that’s already absorbed into the food.
Myth #2: “They are just being picky.”
Fact: A nut allergy isn’t a taste bud choice, it’s a medical condition.
Preferences and pickiness are about taste. However, allergies are about survival. Those with allergies are not avoiding nuts because they don’t like them, they must avoid them, or else a harmful reaction occurs. So, when people such as servers and chefs mistake allergies for preferences, such as accidentally putting cheese on your burger, they underestimate the seriousness and skip safety steps such as checking labels, using clean equipment, or ensuring something wasn’t cross-contaminated, which can ultimately lead to detrimental consequences.
Myth #3: “A tiny bit won’t hurt.”
Fact: A tiny bit is exactly what can hurt.
For many with nut allergies, reactions don’t require consuming handfuls. They can actually be triggered by crumbs, traces, or invisible cross-contact with objects such as doorknobs. So, in reality, only a “tiny bit” of an allergen can mean hives, breathing problems, or anaphylaxis. Overall, this myth is one of the most dangerous because it tells people to downplay risk. The truth is that the thresholds for an allergen vary in each individual for what constitutes an allergic reaction. But the good news is that zero consumption is a definite and the only safe number resulting in no reactions.
Ultimately, living with a nut allergy means navigating a world where labels, ingredients, and assumptions matter. The truth is that you are exhibiting constant awareness, not overreactions. It’s not about being dramatic, picky, or too scared, it’s about being safe. So, when everyone starts to understand the honest truth behind these myths, they become part of a safer and more inclusive allergen environment!!!
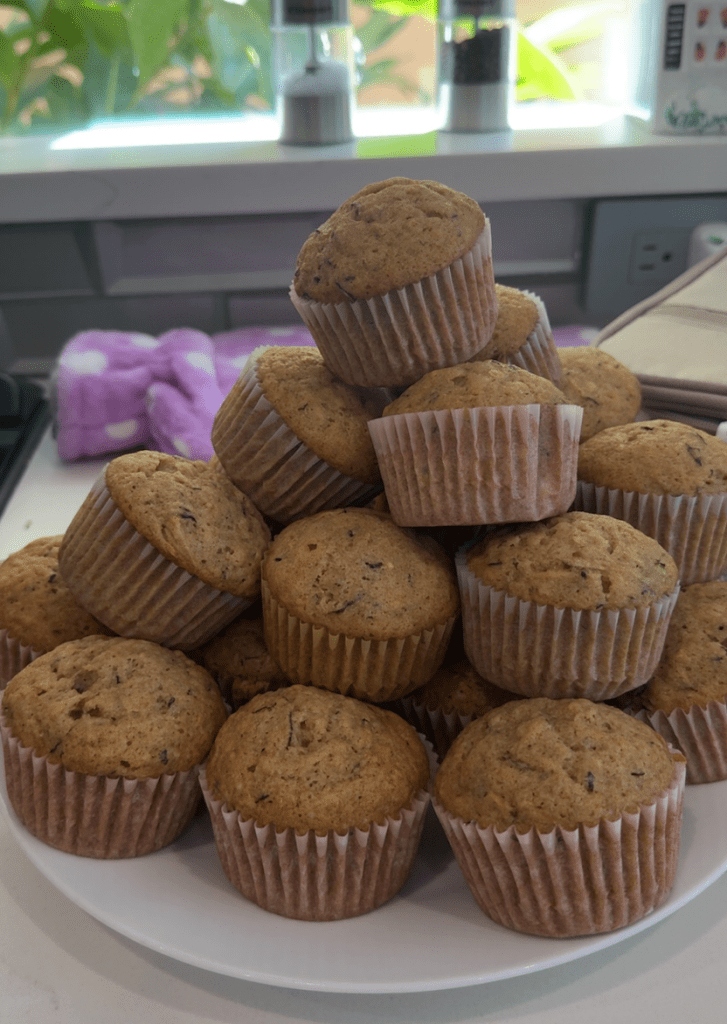
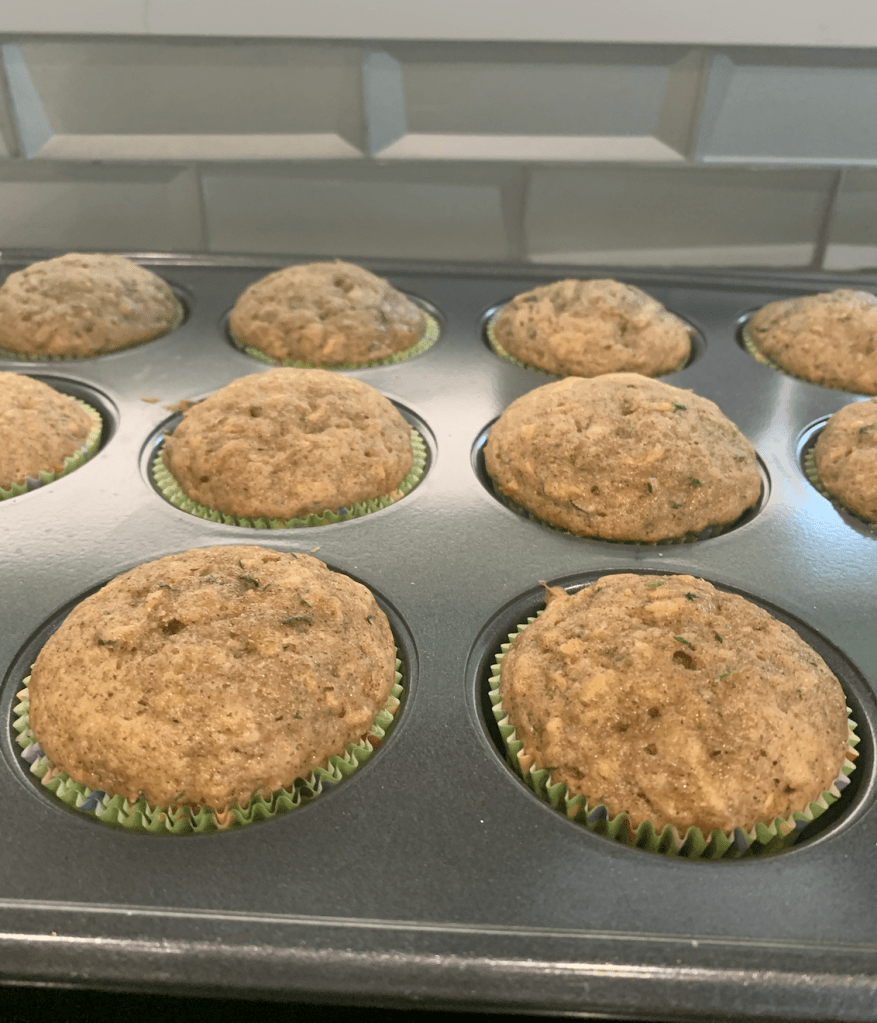
I grew up loving the moments in my grandma’s kitchen, where we would sit together measuring ingredients, wearing matching aprons, and the flour dusting the air. Her zucchini muffins were perfection… well, up until the recipe reached that dreaded line: “add chopped walnuts” or “stir in the almond extract.” For most, these few ingredients are just a tiny detail. However, for me, it was the point where I had to step back, watching a recipe I loved become out of reach because of my nut allergies. So, I decided to rewrite this recipe into a fully nut-free zucchini muffin with the same warmth, same comfort, but with finally safe ingredients you can always enjoy creating lifelong memories with your loved ones!
Ingredients
3 cups flour
1 teaspoon salt
1 teaspoon baking soda
1/4 teaspoon baking powder
2 teaspoons of cinnamon
3 eggs
2 cups sugar
1 cup oil
2 cups grated raw zucchini
2 teaspoons vanilla
Instructions
Preheat the oven to 350 degrees F
Combine the flour, salt, baking soda, baking powder, and cinnamon
Beat the eggs untill light
Stir in sugar, oil, zucchini, and vanilla extract into the eggs
Add the dry ingredients to the wet mixture and mix well together
Line 2 cupcake pans with muffin liners and evenly distribute the batter
Bake the muffins for about 30 minutes or untill an inserted toothpick comes out clean
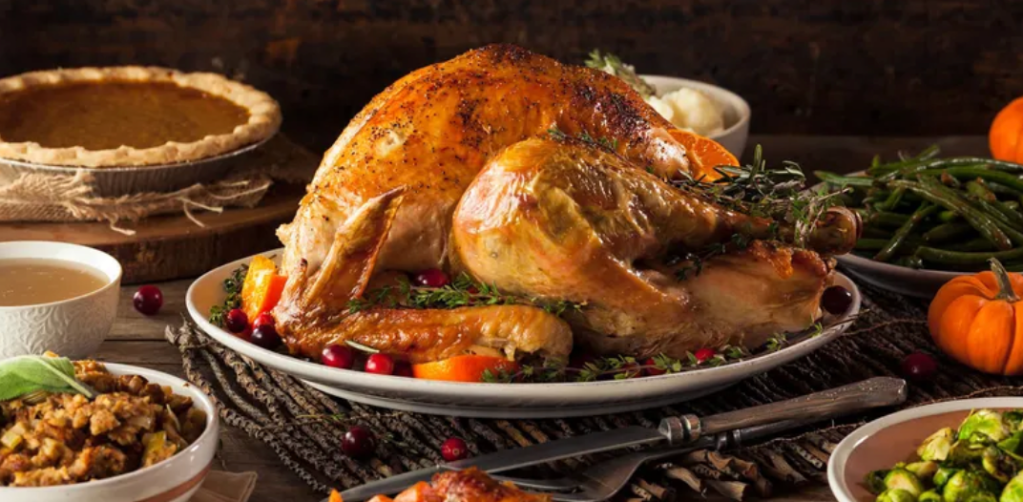
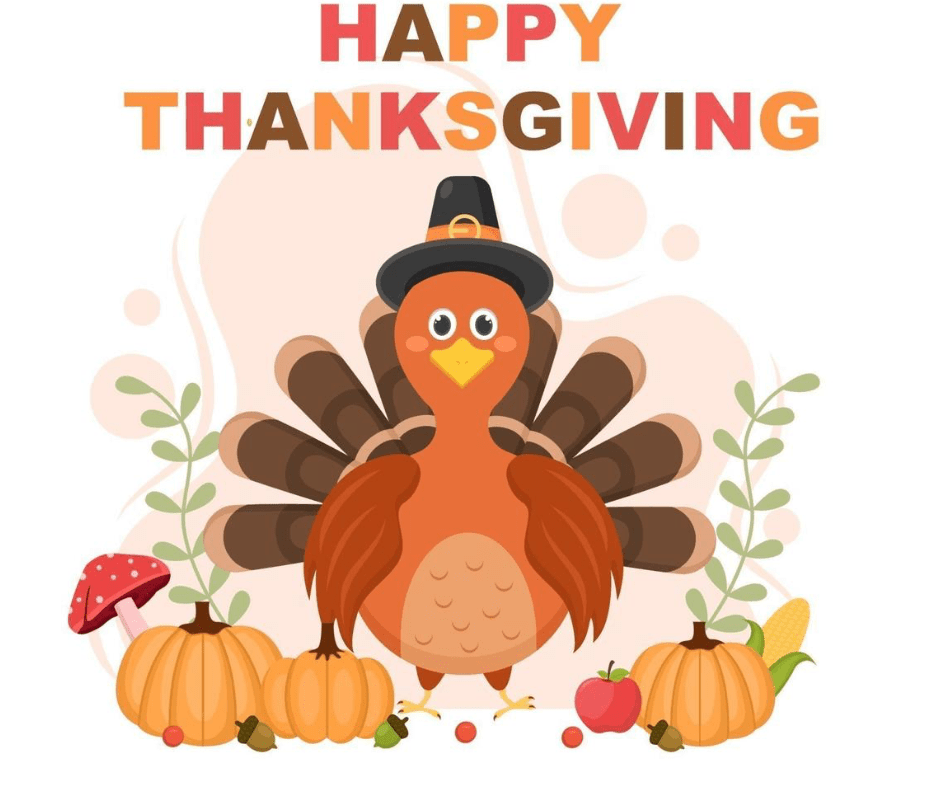
Thanksgiving is overall one of my favorite times of the year. Not just for the food, but also for the fact that it allows us to reflect and express gratitude. Living with food allergies, especially nut allergies, has shaped the way I approach many situations such as the holiday table. While it hasn’t always been easy, it’s also given me so much to be thankful for and skills learned. Here are some of the things as one with food allergies, I am thankful for:
I’m thankful for inclusion. For family and friends who go out of their way to make sure dishes are safe for me, or who ask questions about ingredients before bringing something to share. Those small gestures remind me that Thanksgiving isn’t only about what’s on the table—it’s about who’s at the table.
I’m thankful for creativity in the kitchen. Navigating allergies has pushed me to explore new flavors, find so many new passions for baking and cooking, allowed me to experiment with swaps in other traditional recipes, and find fun in recipes that are just as delicious without nuts. Whether it’s pumpkin bread, cookies, or pies, I’ve learned that food can be comforting and festive without sacrificing the safety of allergens.
I’m thankful for awareness and advocacy. Every year, I keep seeing more people recognizing the importance of allergy-friendly options and labeling. That progress makes holidays feel less isolating and more comfortable, not just for me, but for millions of others also navigating and dealing with food allergies.
Most of all, I’m thankful for the community. Through Behind the Label, I’ve found a space to share, connect, and remind others with allergies that they are not alone. Together, we can make the holiday season and the future safer and sweeter!!!
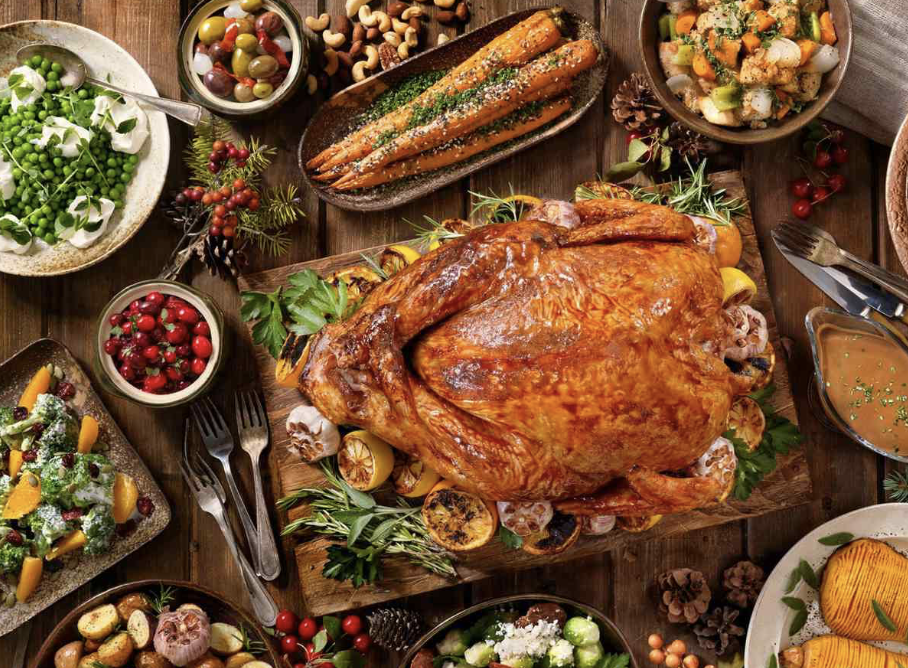
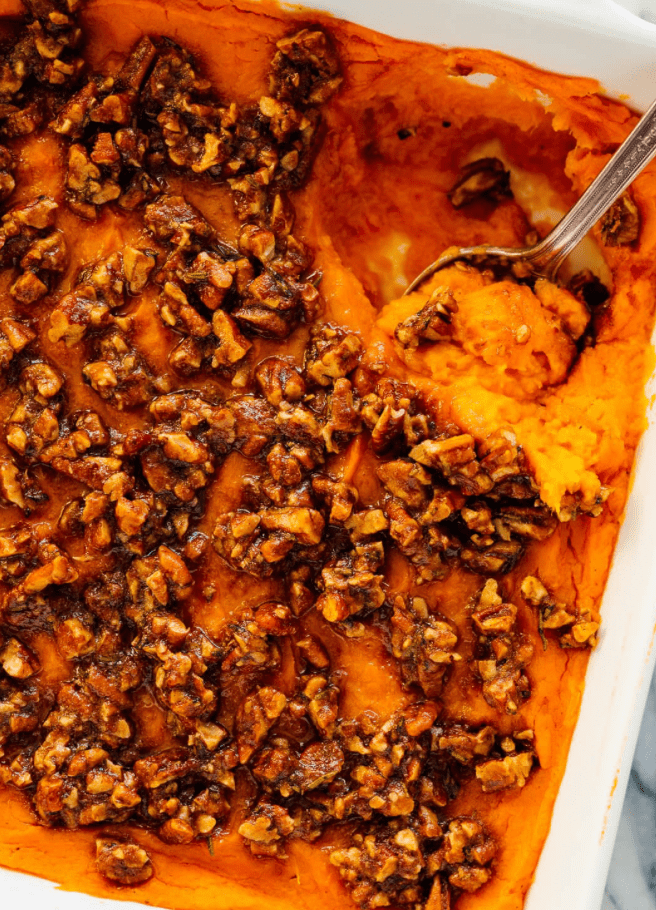
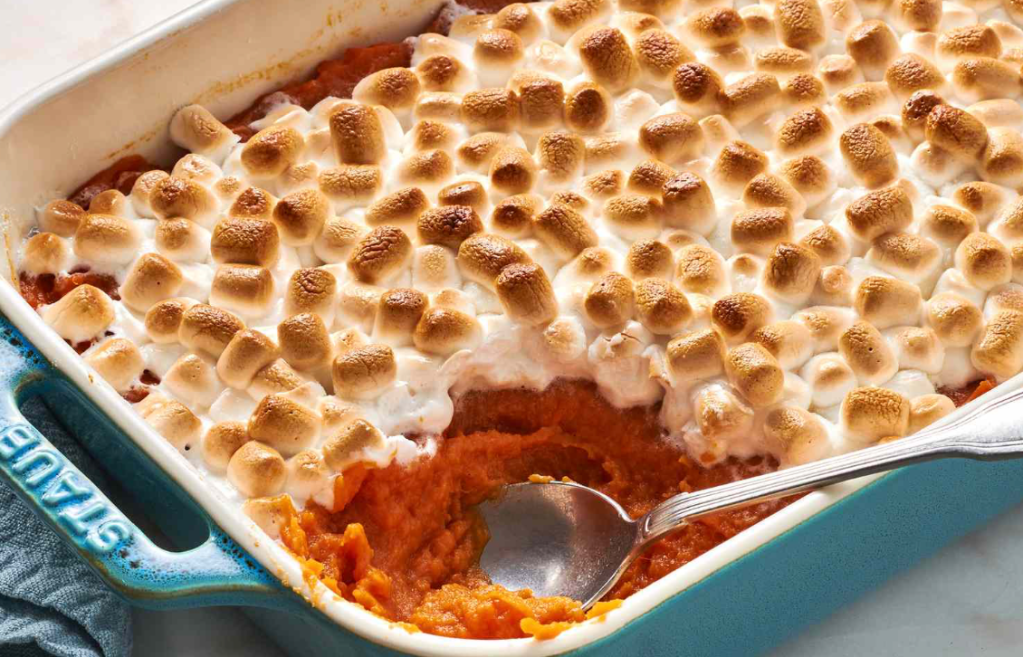
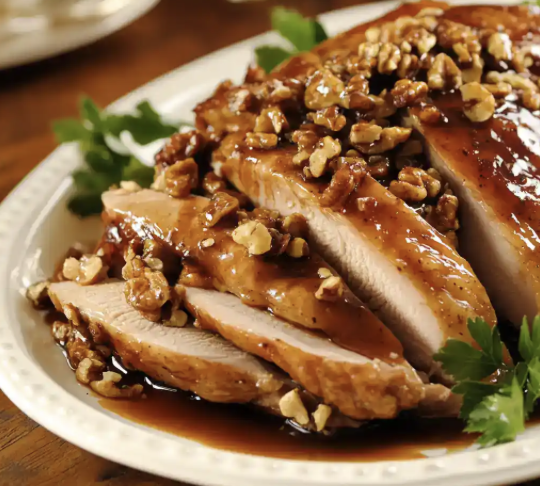
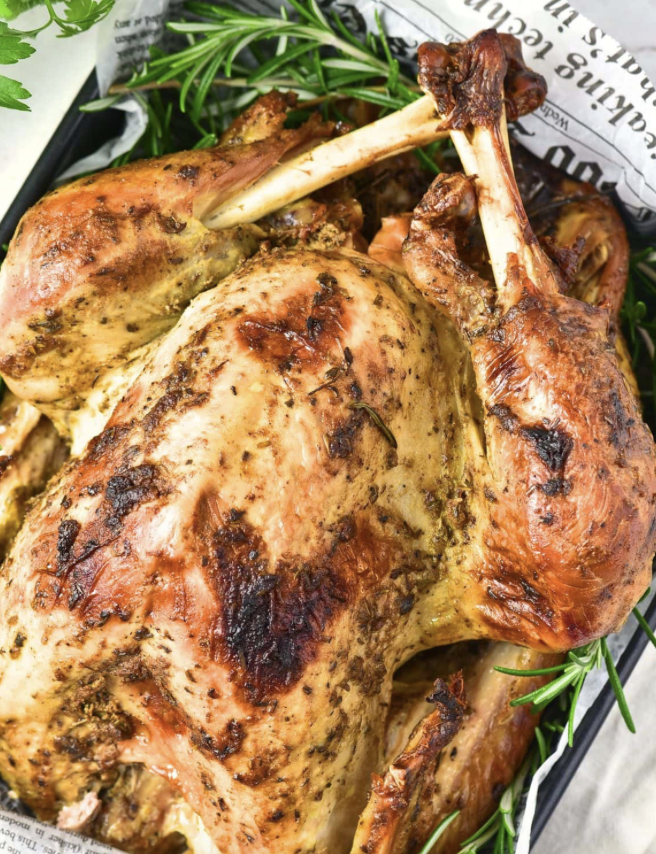
I LOVE Thanksgiving food. From the turkey, to stuffing, to apple pie, and to even my famous Zucchini Muffins. However, with allergies, you must always be aware. So, leading up to the Thanksgiving holiday, here are some recommendations of the top ingredients to double-check and the safest swaps to keep your holiday delicious and allergy-friendly.
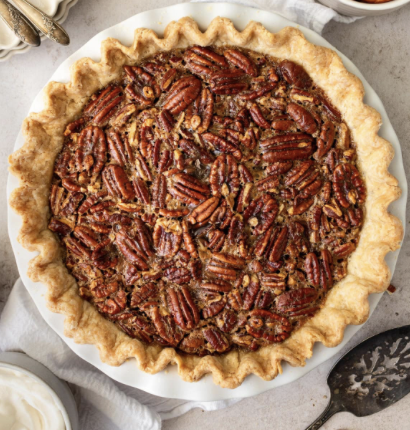
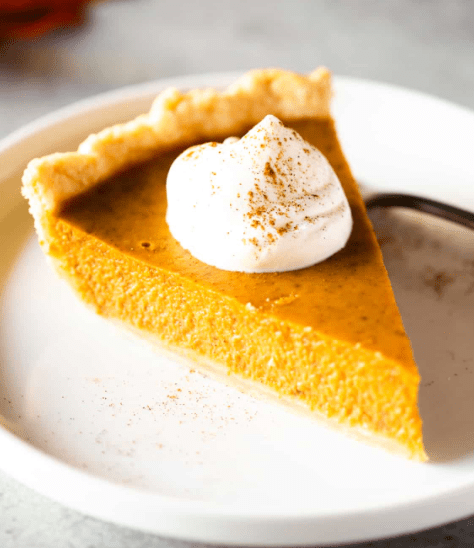
1. Pies & Desserts Watch out for: Pecan pie, mixed nut toppings on desserts such as apple crumble or coffee cake, potential almond flour crusts, and any bakery items processed with nuts.
Swap Options:
Pumpkin pie using a nut-free crust
Apple crisp with oat topping (no almond meal)
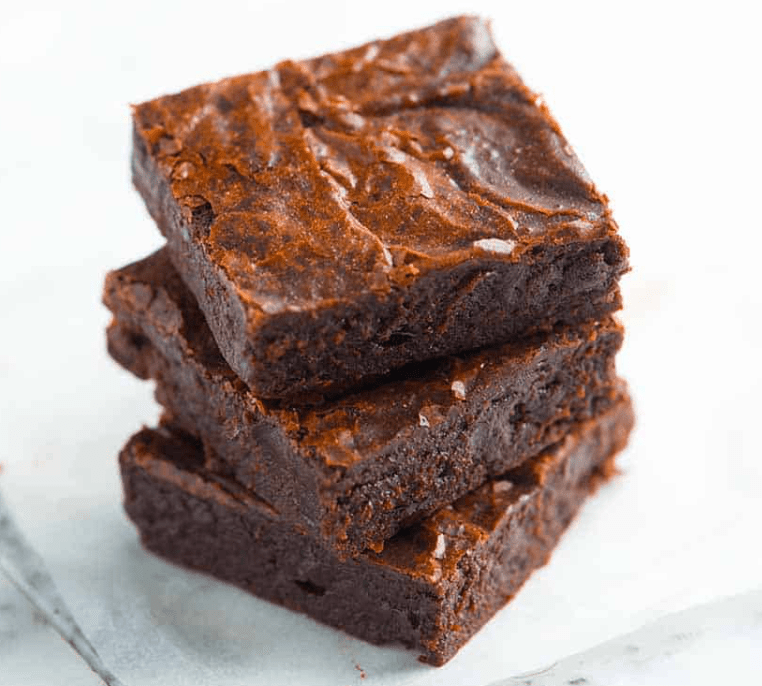
Nut-free chocolate chip cookies or brownies
Store-bought nut-free pie dough
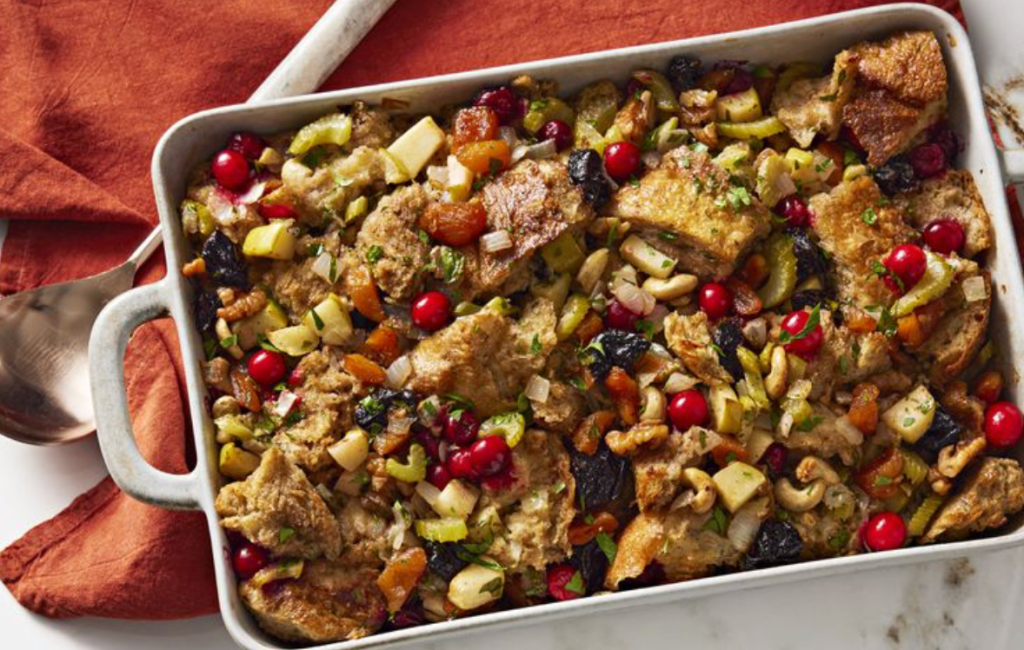
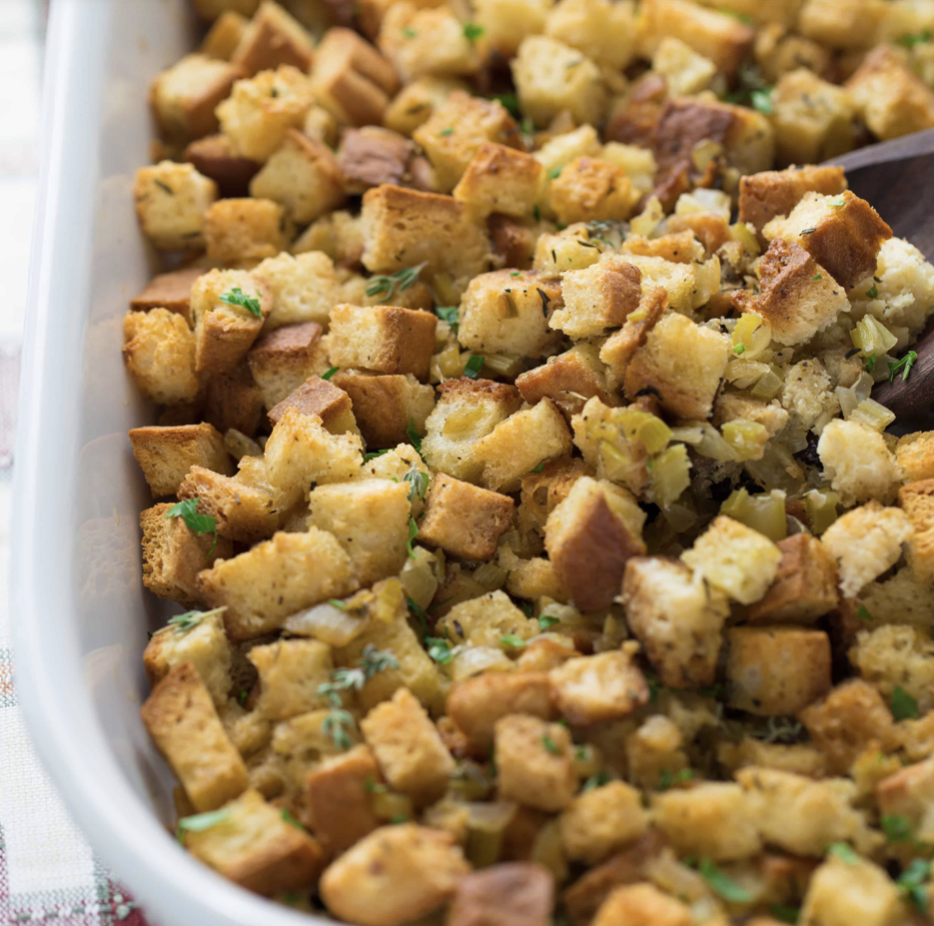
2. Stuffing Watch out for: Any Bread from facilities with nuts or containing nuts, stuffing mixes containing pecans or walnut pieces.
Swap Options:
Homemade bread cubes from a safe nut-free loaf
Comfirmed Nut-free packaged stuffing mix
Potential add ins like celery, sausage, apples, or herbs instead of nuts
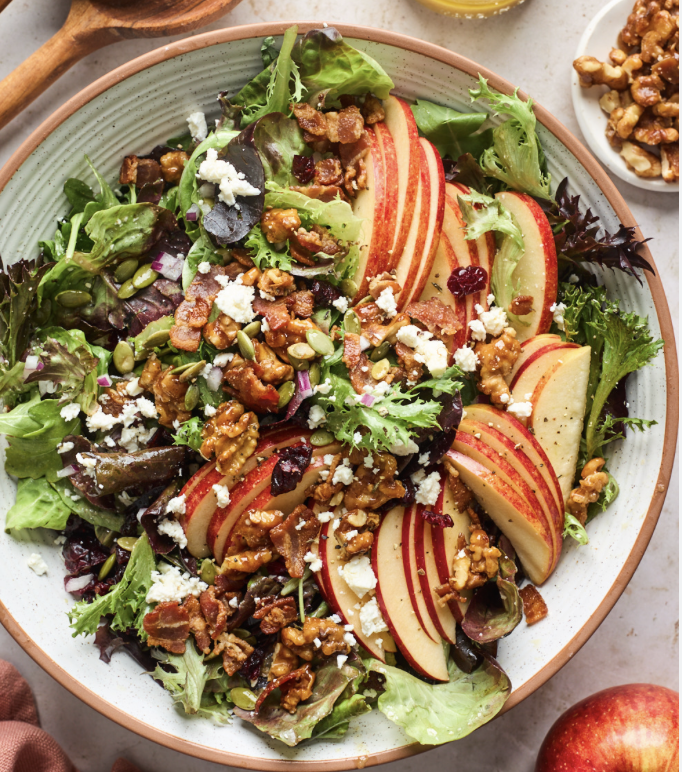
3. Salads & Veggie Dishes Watch out for: Nut vinegarette dressings, candied pecans, walnut crumbles, and almond slivers.
Swap Options:
Crunchy toppings like roasted chickpeas or toasted pumpkin seeds
simple dressings such as oil and vinegar instead of an unknown almond cranberry vinaigrette
4. Sweet Potato Dishes Watch out for: Almond streusel toppings.
Swap Options:
Marshmallows
A brown sugar and cinnamon oat crumble
5. Turkey & Ham Watch out for: Brines or glazes containing “natural flavors,” nut-based oils, or factory cross-contact with nuts.
Swap Options:
A simple herb butter rub
Maple or brown sugar glaze made at home with safe ingredients
An easy water and kosher salt brine solution
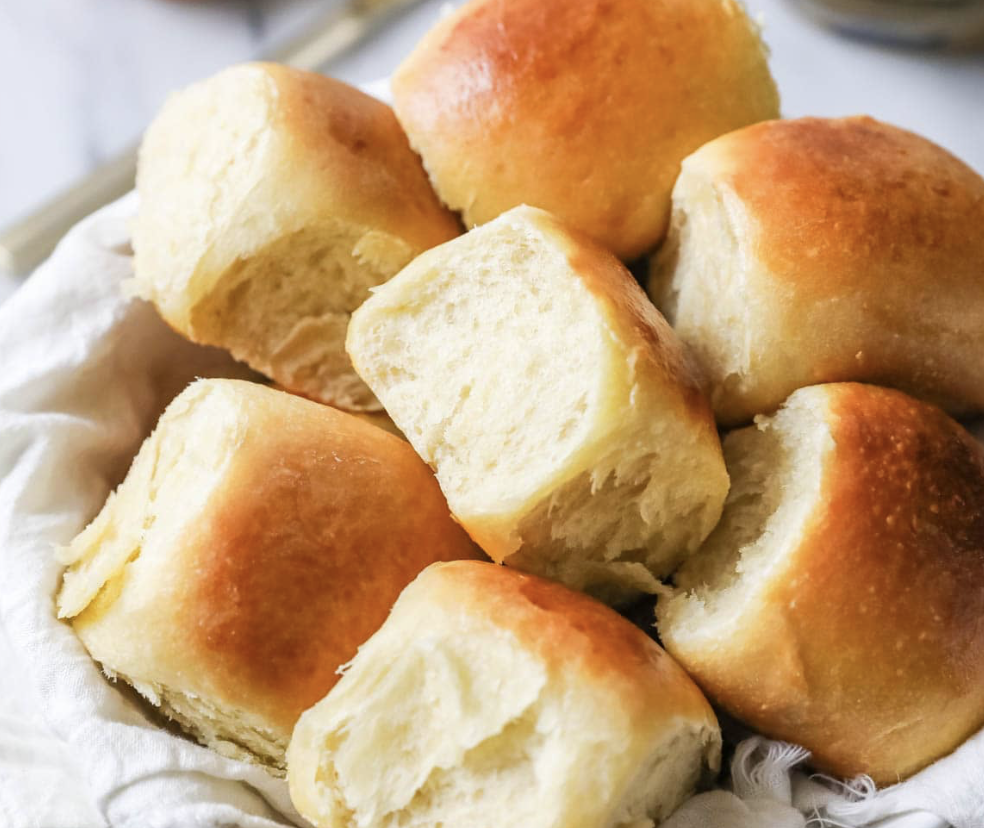
6. Rolls & Breads Watch out for: Breads containing almond flour, specialty nut breads such as cinamon walnut, pesto spreads with pine nuts, or any cross-contamination at bakeries.
Swap Options:
Confirmed nut-free dinner rolls
Nut free Cornbread
Butter, olive oil, and herb spreads
7. Hidden Nut Contaminated Foods
Watch out for: Any possible spice blends, chocolates, specialty sauces, Bakery items like muffins, and granola toppings that might contain nuts.
Ultimately, a nut-free Thanksgiving is 100% possible. It just takes smart swaps and a little ingredient awareness. As always, remember to stay safe and have a Happy Thanksgiving!!
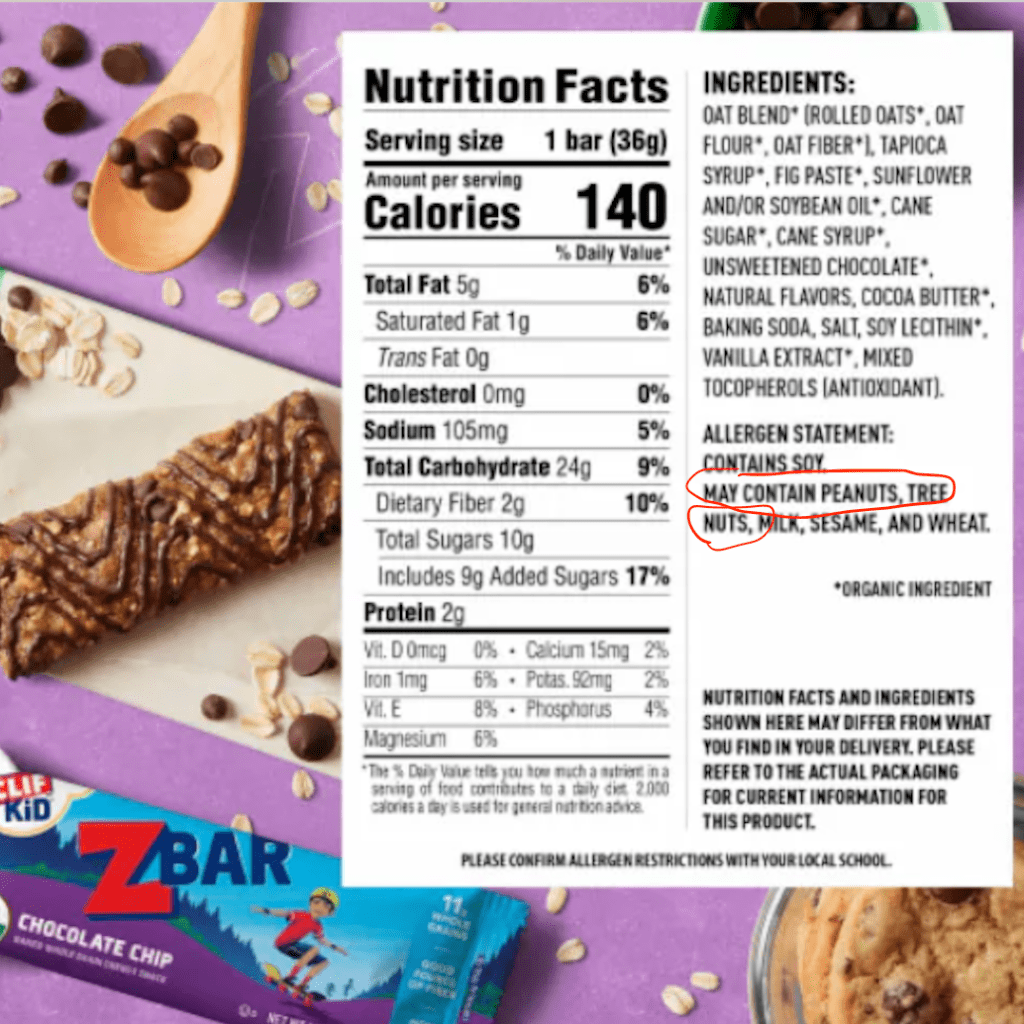
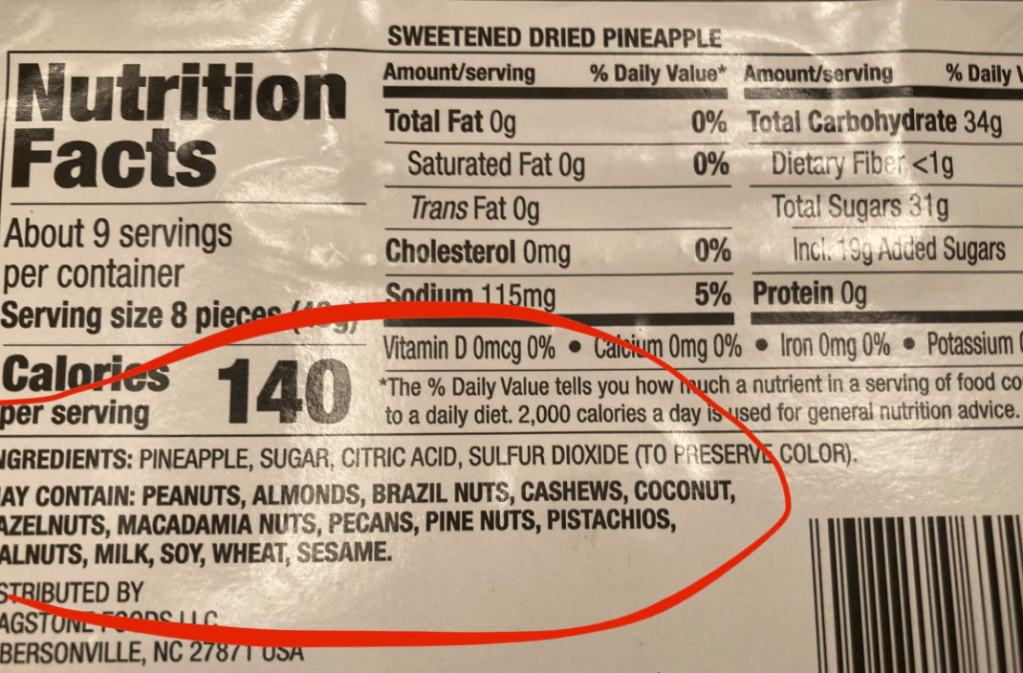
If I had to choose the hardest snack to find that does not contain nuts… the answer would be granola bars. This is especially even more frustrating because granola bars are supposed to be the perfect protein-filling snack. Something quick before the gym, soccer practice, or in between classes. It can even replace breakfast! However, almost EVERY SINGLE BRAND, such as Nature Valley, Chewy, z-bar, etc, has nuts or a “may contain” warning. It’s exhausting trying to find something that’s safe and actually satisfies your hunger.
So, I decided to take matters into my own hands and create the perfect, amazing-tasting, nut-free granola bar recipe I always dreamed of having. Here it is!
Ingredients:
2 cups of oats
1/4 teaspoon of salt
1/4 cup of sunflower butter
5 tablespoons of honey
2 tablespoons of butter
1 egg
Instructions:
Preheat your oven to 325 degrees and line a baking sheet with parchment paper
In a bowl, mix the oats and salt together
Mix the sunflower butter, normal butter, and honey in a bowl and microwave untill melted together.
Add the honey mixture to the oat and salt mixture, then mix with the egg until everything is evenly combined.
Bake the bars for 12-14 minutes at 325, then remove and let cool for 5 minutes
Cut the bars into desired bar shape then preheat oven again to 350 degrees
Once bars are cut and the oven is preheated to 350, put bars back into the oven and bake for an additional 5 minutes.
Finally remove the pan from the oven, remove bars and let everything cool completley
May contain” products should be avoided. Take away the guess work and call the manufacturer directly to ask about the product before buying or consuming it.
If you live with food allergies, you know that the words “may contain” can completely change your day. They are in the fine print on everything from granola bars to chocolate, to candy such as M & M’s, often leaving you stuck in a cycle of uncertainty: Is this safe, or is it not?
For many people, these warnings are confusing. Do they mean the product actually has nuts in it? Or that it was made on the same line as products that do? The truth is, those two little words can mean different things depending on the brand, the factory, and the labeling policies – It is very subjective. And unfortunately, this inconsistency creates constant stress for people with food allergies. Daily life becomes a series of judgment calls. You find a new snack that looks safe, but the “may contain” statement makes you hesitate. Should you risk it? Should you eat it? Should you walk away? Most of the time, you choose the cautious route, but that choice can feel frustrating and isolating, especially when friends or family don’t really understand why you’re turning down something that “probably won’t hurt you.”
Plus, this continuous questioning doesn’t stop at the grocery store. It follows you to school, restaurants, holiday gatherings, and even sporting events. Reading every single label isn’t just about nutrition; it’s about safety. So when “may contain” shows up, it turns a simple moment like grabbing a snack into an exhausting decision.
This lack of standardization leaves people with allergies with millions of questions, not knowing what to do. So what should we do? Here is what I recommend as someone who constantly experiences this.
When in doubt, don’t eat it.
Health always comes first. Look for products labeled “nut-free” or “made in a nut-free facility” to reduce stress and risk. If you’re ever unsure, contact the brand or keep a safe backup snack on hand. Over time, you’ll learn which brands and products you can trust, leading to more comfort overall.
2. Compare similar products
Sometimes the same type of snack from a different brand doesn’t also have the “may contain” warning, so when in doubt stick with the snacks that definitely do not have that “may contain statement.
3. Keep an allergy-safe snack with you
I recommend always trying to have an allergy-free snack with you so you don’t feel pressured to risk a “may contain” item when hungry or be in a situation where you feel forced to eat the “may-containing” snack.
Ultimately, dealing with “May contain” labels can feel stressful and exhausting, but taking steps like checking labels carefully, contacting manufacturers, and keeping safe snacks on hand can make it manageable.
Over time, you’ll learn which products and brands you can trust, giving you confidence in your daily choices. In the end, remember that you can always take the safe route by not eating that snack, and you should never feel pressured to eat a certain food. “May contain” labels do NOT have to control your day, by using these tips, you can enjoy food without worrying about what you eat!!
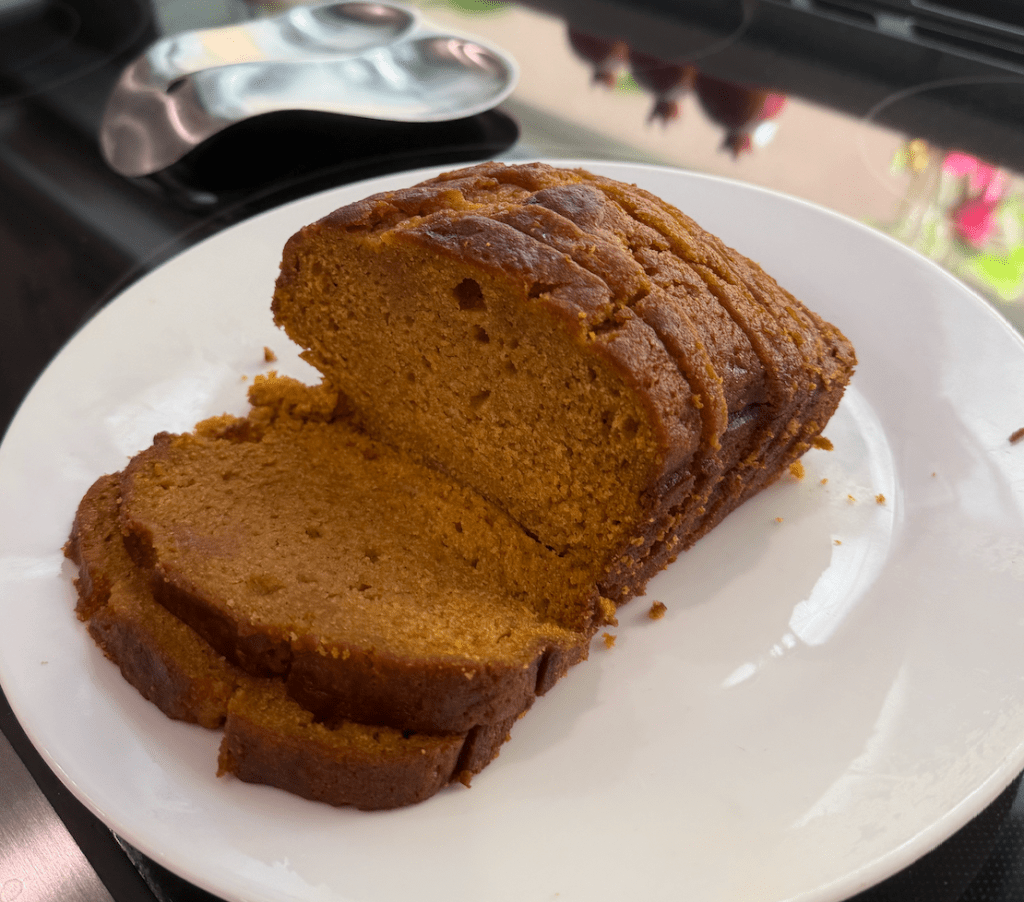
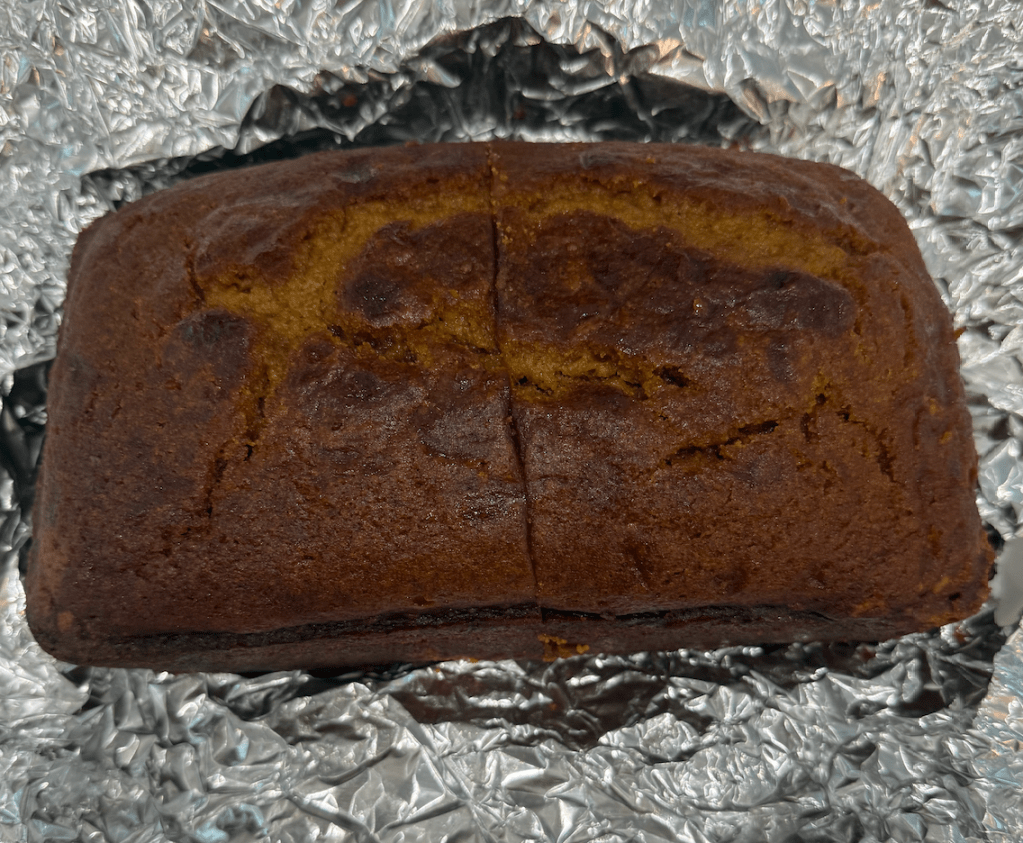
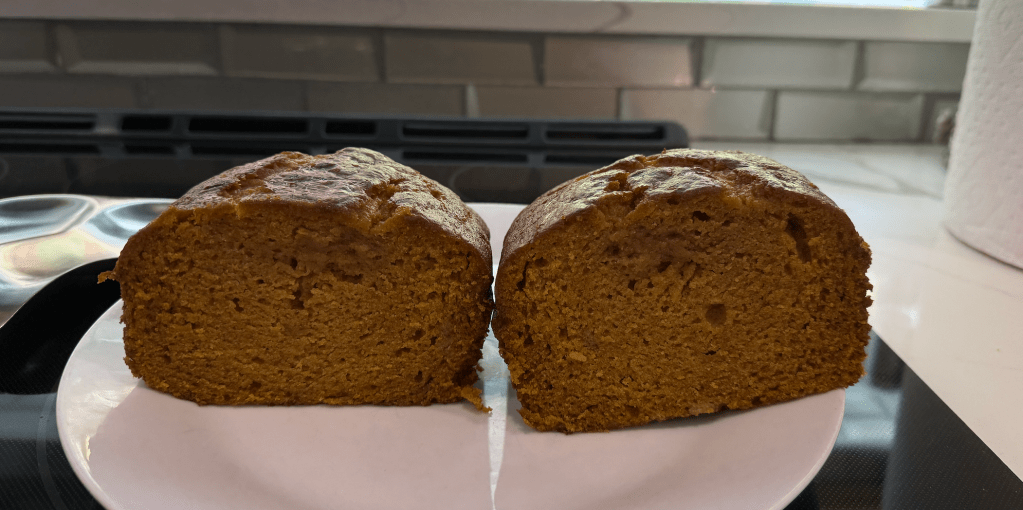
Fall is approaching, and pumpkin bread is a fan favorite! Nothing feels more comforting than having a warm slice of pumpkin bread straight out of the oven with your house smelling fantastic. But… when you live with food allergies, the classic fall recipes you find online or in bakeries often come with an unfortunate surprise – walnuts or pecans. That’s why I want to share with you the BEST nut-free pumpkin bread recipe out there that is amazing and has all the fall flavors without any nut-allergen worries!!
Ingredients:
3 1/2 cups of flour
2 teaspoons of baking soda
1 1/2 teaspoons of salt
1 teaspoon of cinnamon
1 teaspoon of nutmeg
3 cups of sugar
1 cup of vegetable oil
4 eggs
2/3 cup of water
2 cups (1 can) of pumpkin puree
Instructions:
Preheat your oven to 35- degrees and grease 2 loaf pans with butter
In a large bowl, sift the flour, baking soda, salt, cinnamon, nutmeg, and white sugar, then mix together.
Create a well in the center of the dry ingredients and add the oil, eggs, water, and pumpkin.
Combine all of these ingredients together well, then pour the batter into the 2 loaf pans, dividing evenly.
Bake for 1 hour, then remove from the oven and let cool completely before removing from the pan.
Banana bread is a classic warm, comforting, and perfect for any time of day. But for those with nut allergies, finding a safe and delicious recipe can be tricky as many traditional banana bread recipes have nuts for crunch and flavor. That’s why I’m sharing a foolproof, nut-free banana bread recipe that is delicous and is one everyone can enjoy!
Ingredients:
1/4 cup canola oil
1/4 cup softened butter
1 cup sugar
2 very ripe bananas
2 eggs
1 teaspoon vanilla
1 1/2 cups all purpose flour
1 teaspoon baking soda
1/2 teaspoon salt
1/4 cup sour cream
Instructions:
Preheat the oven to 325 F and grease 2 loaf pans with butter
In a bowl, mix the oil, butter, and sugar until combined. Then stir in the eggs, vanilla extract, and banana until smooth.
Stir in the dry ingredients and sour cream until a batter has formed. Then pour into the greased loaf pans.
Bake for 50 to 60 minutes until completely baked, then remove from oven and cool at least 15 minutes before removing from pan. Slice and serve!
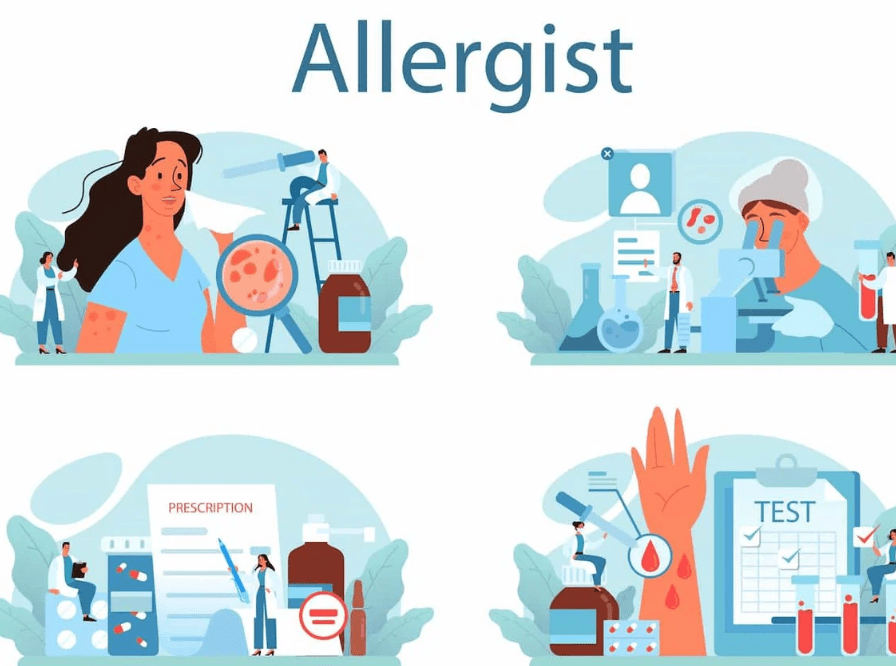
I know firsthand that talking to your doctor about food allergies can feel very overwhelming. Whether you’re newly diagnosed, managing a long-term allergy, or suspect you have one, knowing the right questions to ask can make your appointment more productive and less stressful. Here’s a guide and some tips on questions to ask to help you prepare and get the most out of your doctor visits!!
What tests will you use to diagnose or confirm my food allergies? Understanding and asking what tests (for example, skin prick, blood tests, oral food challenges) are needed to help you know what to expect and how accurate the diagnosis is.
Can my allergies change over time? Ask if your allergy is likely to be lifelong or if you might outgrow it. Knowing this helps with long-term planning.
How severe is my allergy, and what symptoms should I watch for? Get clear information on what kinds of reactions you might have, from mild to severe or anaphylactic, so you know when to seek emergency care.
What should I do if I have an allergic reaction? Ask about when and how to use medications like antihistamines and epinephrine (EpiPen). Clarify when you need to call 911 or go to the ER.
How can I avoid accidental exposure? Discuss tips for preventing cross-contact at home, school, work, and when eating out.
Should I carry an epipen? How many and when? Learn the best practices for carrying, storing, and using your EpiPen or other emergency medication.
Are there any new treatments or therapies I should consider? Ask about options like oral immunotherapy (OIT), SLIT, and food challenges or if you want to explore treatment beyond avoidance.
How can I talk to my family, friends, and coworkers about my allergies? Doctors can give advice on how to educate your support system to keep you safe.
Additionally, when meeting a doctor to speak about allergies, make sure to bring a list of your symptoms and any questions before your visit. Also, be honest about your lifestyle and any past allergic reactions, and don’t be afraid to ask for clarification if something is confusing.
Finally, remember that you are your best advocate when it comes to your health. Preparing ahead with these questions will help your doctor understand your needs and guide you toward safer, more confident management of your food allergies. Remember you’ve got this!!!