
If you’ve ever stood in front of your fridge at 10 pm, staring into the emptiness of your fridge, and praying that a fully packed nut-free lunch would magically assemble itself…welcome to the club. Packing lunches with food allergies isn’t hard because the food is boring, it’s hard because you have to balance safe, easy, and practicality into a lunch that also won’t get smushed by 3rd-period all at the same time. Oh, how many times I wished I could just pack a Nutella or Peanut Butter and Jelly sandwich.
Plus, let’s be honest, most lunch ideas on TikTok or Instagram assume you have two hours, a whole bento box collection, and the patience to cut sandwiches into crazy animal shapes. That is not feasible.
The reality of the questions that need to be asked when making an allergy-free lunch is:
What can I pack in under 7 minutes?
Will this actually fill me up?
Do I have a backup snack?
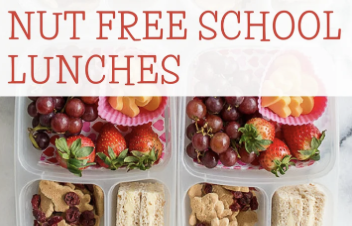
So here are realistic and actually doable nut-free school lunches that don’t require complicated ingredients, won’t make you feel left out, and taste good.
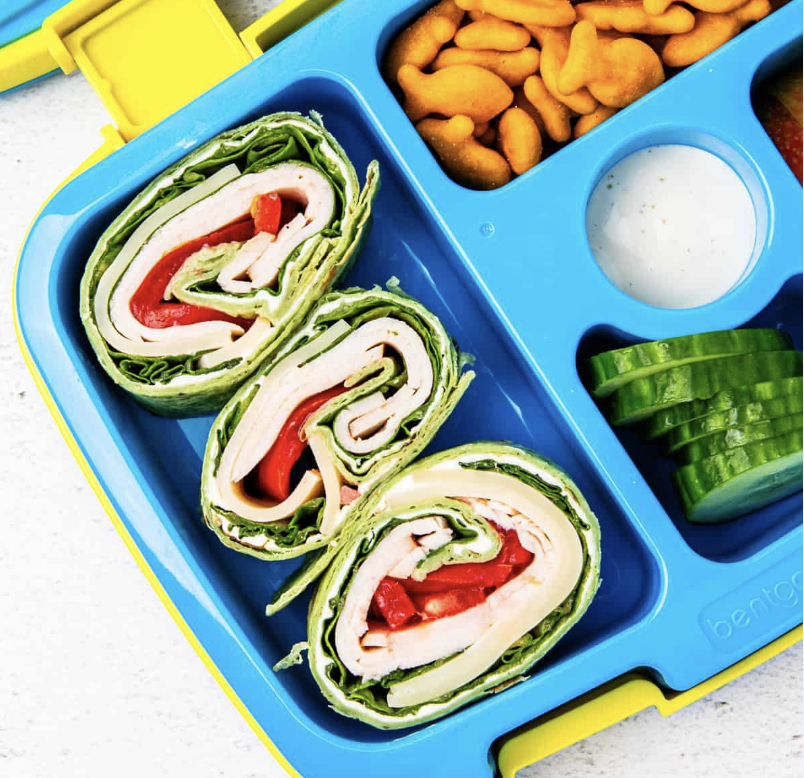
1. DIY Snack Box
This lunch is perfect for days when you want variety and no one specific main item. For example, in this you would pack:
– Turkey roll-ups
– Crackers
– Grapes or strawberries
– Carrots + ranch
– Cookie or sweet treat

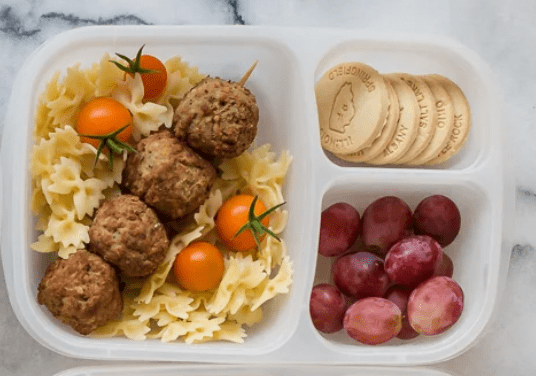
2. Pasta
This is a lunch that tastes just as good, even 4 hours later at room temperature in a thermos. In this lunch, you would pack:
– Pasta with butter, olive oil, or marinara
– Cucumber slices and carrots
– Pretzels
– Yogurt
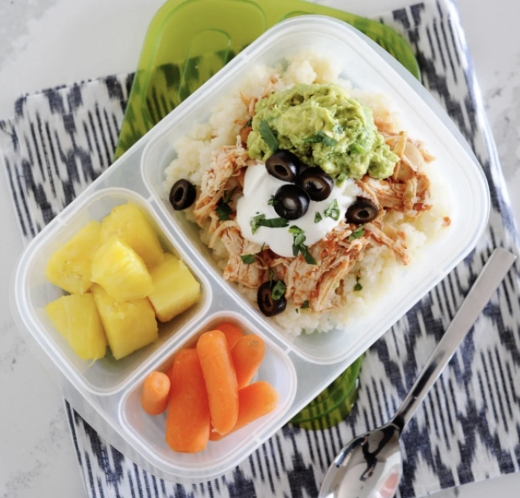
3. Burrito Bowl
This is a lunch that checks all the nut-free boxes. It has protein, carbs, and vegetables with an amazing build it yourself flavor with no risks of nuts. In this lunch, you would pack:
– Rice
– Chicken
– Beans
– Tortilla chips
– Corn and cheese
– Fruit such as strawberries
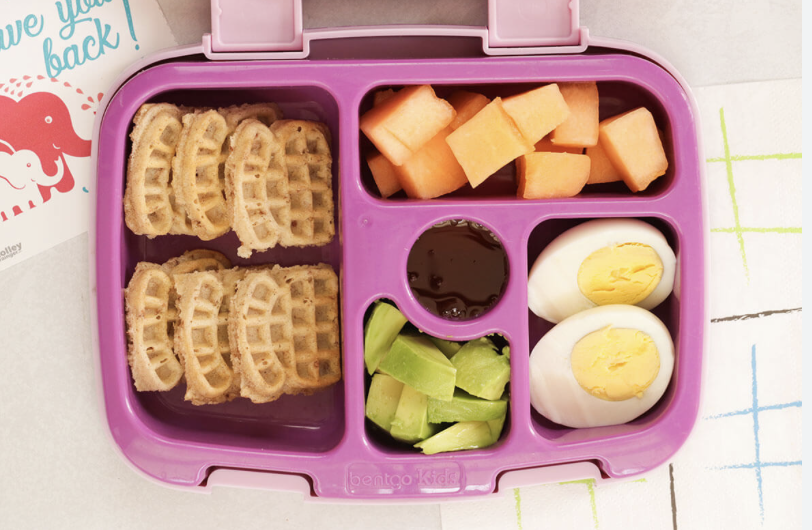
5. Breakfast for Lunch
This lunch is amazing because let’s be honest, breakfast food hits different at noon and is the best treat. In this lunch, you would pack:
– Mini pancakes or waffles
– Fruit cup variety
– String cheese
– Little container of sunbutter
– A bag of cereal, such as Cheerios
– Hard boiled egg
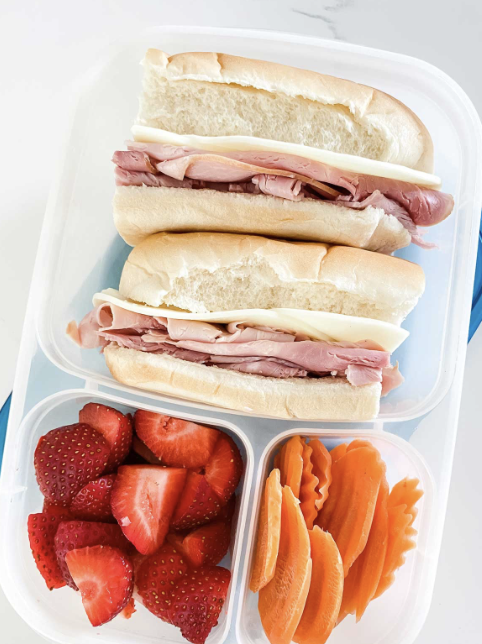
6. The Sandwich Rotation
This is a lunch that sub PB&J or Nutella sandwiches any day. They are quick, safe, and customizable. In this lunch, you would pack:
– Turkey + cheese sandwich
– Chicken salad sandwich
– Egg salad sandwich
– Veggie Wrap with Hummus
– Ham + Cheese Sandwhich
– Sunbutter + jelly Sandwhich
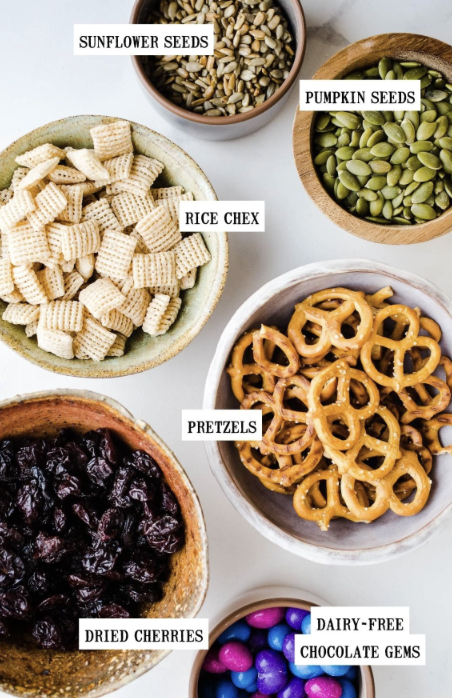
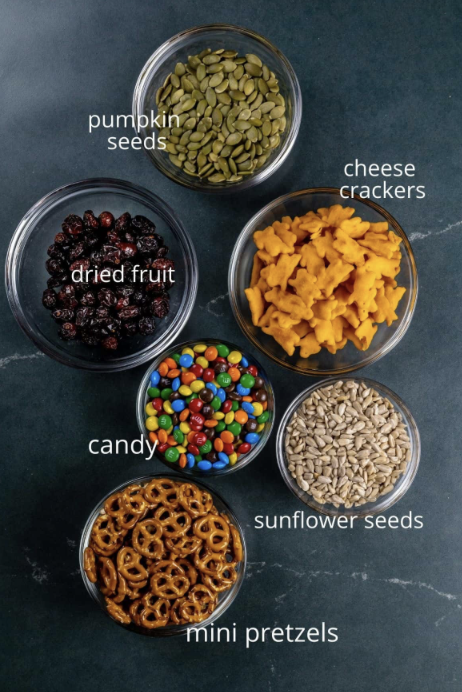
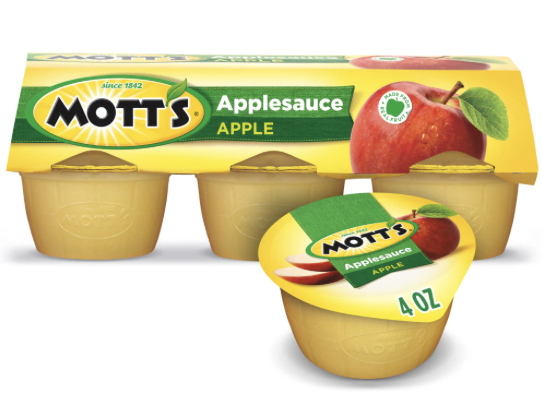
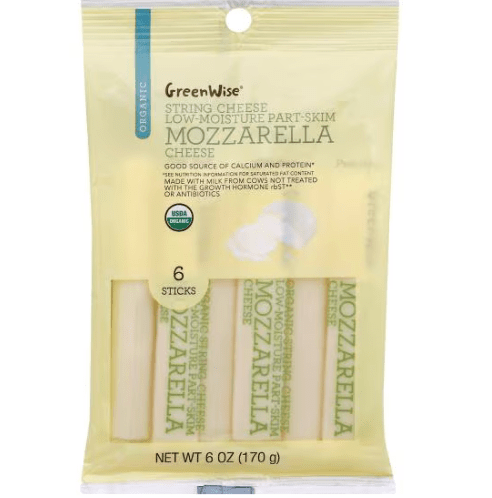
Plus any of these lunches can be paired with safe nut-free sides such as:
- Applesauce cups
- Pretzels
- Popcorn
- potato chips
- Safe granola bars
- Cheese sticks
- Veggie straws
- Chocolate pudding cups
- Or any other snacks you love!!

Ultimately, packing nut-free lunches isn’t about perfection, it’s about finding food that keeps you safe, full, and without worries during the school day. The reality is that some days you’ll feel inspired and prep everything ahead like a full course meal, while other days you’ll just throw pasta into a container with a bag of Goldfish and call it a day. Both are valid. What matters is that you have options that work for you, you enjoy, and that fit your allergy requirements without making lunch feel stressful or limiting!!!